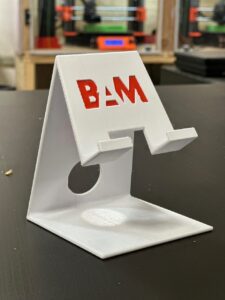
3D printouts are objects created using 3D printing manufacturing techniques, which produces items from digital files by building one layer on top of another. This technology is vital for rapid prototyping, custom manufacturing, and educational tools. In this article, you’ll learn how to create, prepare, and use 3D printouts effectively.
Key Takeaways
3D printing is a transformative technology utilized across various industries for rapid prototyping, customized production, and enhancing educational experiences.
Proper preparation of STL files, including watertight mesh and proper settings are used, is crucial for achieving high-quality 3D prints.
Post-processing techniques, such as sanding and acetone smoothing, significantly improve the aesthetic and strength of printed objects.
Understanding 3D Printouts
3D printing, also known as additive manufacturing, constructs objects layer by layer from digital files. This manufacturing process has come a long way since its inception in the 1980s, evolving into a vital tool across various industries. Today, 3D printing is not just a niche technology but a mainstream innovation that has revolutionized how we design, prototype, and manufacture products.
Industries utilize 3D printing for rapid prototyping, speeding up development and testing of designs. In healthcare, 3D printing produces patient-specific models, enhancing surgical planning and outcomes. Creating complex geometries, unachievable by traditional methods, makes 3D printing essential for both rapid prototyping and final production.
Educational institutions are using 3D printing to create tangible learning materials, boosting student engagement and comprehension. Imagine a biology class where students can hold and examine a 3D printed model of a DNA strand or an engineering course where earners can design and print their own mechanical parts. This hands-on approach makes learning interactive and fun.
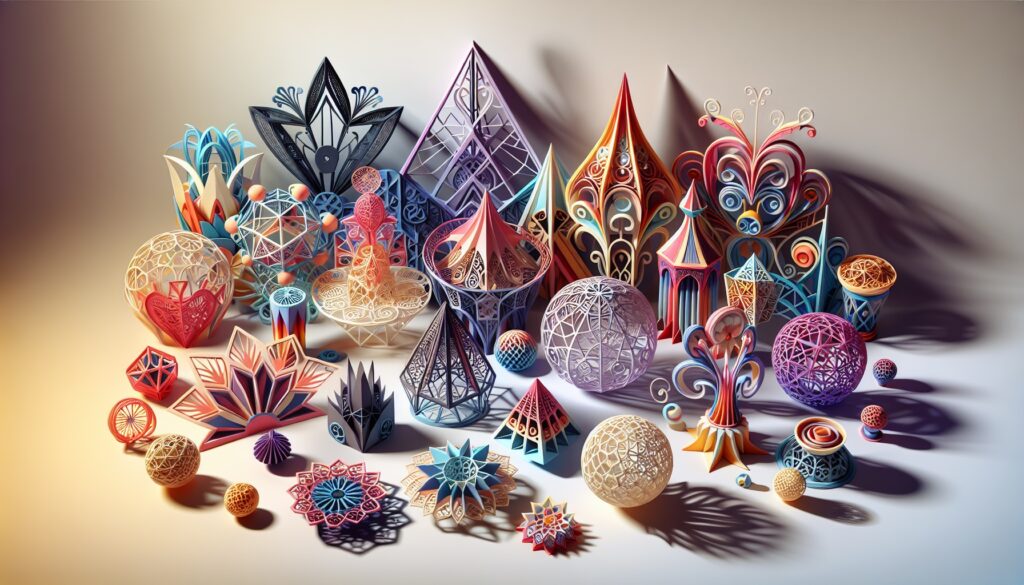
Artists, too, are pushing the boundaries of creativity with 3D printing. They use this technology to explore new forms and complex geometries, creating artworks that were previously unimaginable. From sculptures to intricate jewelry, the artistic possibilities are endless.
The adaptability of 3D printing technologies allows for customization in various fields, addressing needs and preferences.
Finding and Creating 3D Models

The beauty of 3D printing lies in its flexibility and accessibility. One of the first steps in your 3D printing journey is finding or creating a 3d model. Fortunately, there are numerous resources available online where you can find free 3D models. For example, a platform like Printables.com offers a vast array of 3D models with an easy interface for browsing and downloading. They even host design competitions where users upload their models for free in hopes of winning prizes. This way, you know you are getting some of the best models on the internet.
For custom designs, you can make your own models for free using CAD software like Tinkercad or Blender. These tools are easy to use, so anyone can use them for simple shapes like cubes and spheres.
For more complex designs, I’d recommend using programs like Fusion 360 or Plasticity. By spending a little money, you can make just about anything you want. People have designed anything from rocket engines to cars in these programs.
Additionally, prestigious institutions like Harvard Library provide access to a wide range of 3D object files that you can use for your projects. Whether you’re a student working on research or an educator looking to enhance your curriculum, these resources can be invaluable.
Free 3D models are powerful design tools make 3D printing easier than ever to get into!
Preparing Your 3D Files
After obtaining a 3D model, the next step is preparing your files for printing with a slicer. STL (stereolithography) files, representing a triangulated CAD model, are the most commonly used in 3D printing. Other files for 3D printing include .step, .3mf, and .obj.
The quality of your STL file dramatically impacts the final printed object, so proper preparation is crucial.
Ensuring an STL is ‘watertight’-without holes or gaps-is a key aspect of preparation. Software like meshmixer can help you verify and correct surface issues in your STL files. This is vital because imperfections can cause issues during printing, leading to flawed objects.
Maintaining a balance between file size and surface smoothness is also important. Larger, detailed files can be challenging to process, so finding a middle ground ensures quality and efficiency. Different CAD programs offer unique settings for exporting STL files, affecting their readiness for 3D printing. Understanding these settings are choosing the right material and layer height ensures a successful print job.
One downside to STL files is that they don’t store units in them. It’s assumed that you are designing in mm even if the designer is using inches. This is why the model can be really small when its pulled into the slicer. The slicer will usually notice that the model was designed in inches and ask if you want it converted for you, but it doesn’t always catch this.
A way around this problem is to use a 3MF file instead. This file type has all the function of an STL file but also stores more data like the file units, who the designer was, and it’ll even store printer settings. When using a 3MF file, you’ll know that the object on the back end will come out at the correct dimensions.
Just recently, the STEP file became compatible with all slicers. This was a total game changer since you had to convert over the file beforehand to manufacture it. Also, unlike STL and 3MF files, STEP files can be edited in 3D modeling programs such as Plasticity or Fusion 360. This allows the 3D printing shop to edit files for the customer. Say if a hole dimension is wrong or a slot needs larger bumpers.
Submitting Your Print Job
Once your 3D files are ready, submit your print job. Requirements for submitting print jobs can vary, but generally, your 3D object must conform to specified standards.
Typically, to submit a print job, you make a request on this service’s platform. This straightforward process involves going to the Order Now page, add your information, then fill in the material, color, and infill. If everything goes right, you should see an Order Submitted page.
From here, someone will contact you within 25 hours. If the parts are printable and the information is complete, you’ll get back a quote. Otherwise, you’ll get a few questions to clear up any confusion. If the quote looks good, then confirm that you want to start with production.
Monitoring and Managing Print Jobs
After submitting your print job, you can always check on the status by emailing into our service. We can confirm that we are on track with the lead time and even send you some pictures to show how it’s going.
For printing items yourself, many cloud-based services are available so you can check on your prints on the go. These services allow users to manage multiple printers from a single dashboard. This centralized control simplifies handling multiple print jobs simultaneously, especially in busy environments. Live video feeds in remote monitoring tools provide real-time visibility of the printing process, helping you catch issues early.
Furthermore, some advanced software solutions, such as PrusaConnect, OctoPrint and Obico, offer remote control capabilities for various 3D printer models. These tools send notifications about your print job status such as completion or errors, keeping you informed. Using these remote access features reduces downtime and allows you to promptly address potential problems, even from afar.
Post-Processing Your Printed Objects
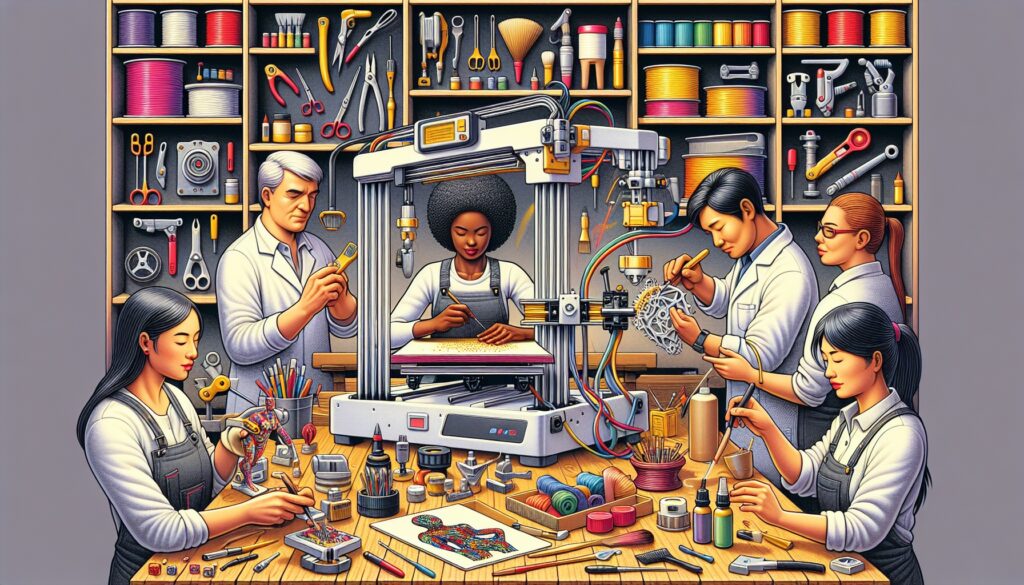
Once your print job is complete, post-processing is often needed to achieve the desired finish. Sanding is a common method to smooth the surface of the 3D printed objects, especially those made with FDM materials. Starting with low-grit sandpaper and progressing to higher grits ensures a more refined finish.
Acetone smoothing is highly effective for ABS material prints. This process uses acetone to melt the surface layer, reducing visible layer lines and smoothing the object. These techniques can significantly enhance the aesthetic and functional qualities of your printed objects.
Proper post-processing improves not only the look but also the durability and usability of your printed objects. Whether preparing a model for display or a functional part for a project, proper finishing ensures they meet your expectations and serve their purpose.
Picking Up Your Completed Prints
When picking up your completed prints, follow a few important steps. First, check your printed object for imperfections or defects to ensure quality meets your standards. By the time you pick it up, print should be cooled down to room temperature. Residual heat can affect the structural integrity of the print.
Handle your printed objects with care, as they can be delicate and may require gentle support during transport. For intricate details, consider using protective wrapping to keep prints intact during transit. Proper handling and transportation are essential to preserve print quality.
After picking up your prints, proper storage is key to maintaining their condition. Store tham in a clean, dry area away from direct sunlight to prevent deterioration. Following these steps ensures your completed prints remain in excellent condition and are ready for use.
Applications of 3D Printouts

3D printing applications are vast and varied, spanning multiple industries. In healthcare, 3D printing creates patient-specific implants and surgical models, enhancing precision and outcomes.
In aerospace, the technology produces lightweight components, improving fuel efficiency.
Automotive companies use 3D printing for customization and on-demand part production, optimizing inventory management and reducing lead times.
The education sector benefits significantly from 3D printing, which is used for hands-on learning experiences that enhance engagement and understanding. Imagine students being able to print and study physical models of historical artifacts or complex chemical structures.
Future advancements in 3D printing are paving the way for applications in food customization and construction. The potential for 3D printing to revolutionize these sectors is immense, offering new possibilities for efficiency and innovation. Overall, 3D printing technology is a game-changer, transforming design, manufacturing, and education.
Summary
In summary, mastering 3D printouts involves understanding the basics of 3D printing, finding or creating 3D models, preparing your files, submitting print jobs, monitoring the printing process, post-processing printed objects, and handling completed prints. Each step is crucial to achieving high-quality results and unlocking the full potential of 3D printing.
As you embark on your 3D printing journey, remember that the possibilities are endless. From creating innovative prototypes to producing functional parts and artistic pieces, 3D printing offers a world of opportunities. Embrace the technology, experiment, and let your creativity soar. The future of 3D printing is bright, and you have the power to shape it.
Frequently Asked Questions:
What is the most common file format for 3D printing?
The STL file format is the most commonly used for 3D printing, as it effectively represents a triangulated version of the original CAD model. However, STEP files have recently taken the spotlight since they can be directly imported into the slicer. This allows anyone to make minor changes for fit or printability on the fly.
Do I need any prior knowledge to use university 3D printing services?
You do not need any prior knowledge of 3D printing to utilize university 3D printing services, as many institutions provide support and guidance for users at all skill levels.
How can I monitor my print job remotely?
You can monitor your print job remotely using tools such as 3DPrinterOS, OctoPrint, or Obico, which offer real-time visibility and status updates. These solutions allow you to manage your print job effectively from any location.
What post-processing methods can I use for my 3D prints?
You can effectively enhance your 3D prints using sanding for a smooth finish and acetone smoothing for ABS prints to diminish visible layer lines. These methods will significantly improve the overall appearance of your printed models.
What are some key applications of 3D printing?
Key applications of 3D printing include creating patient-specific implants and surgical models in healthcare, manufacturing lightweight components in aerospace, producing customized parts in the automotive sector, and enhancing hands-on learning experiences in education. Its versatility is revolutionizing multiple industries.


